
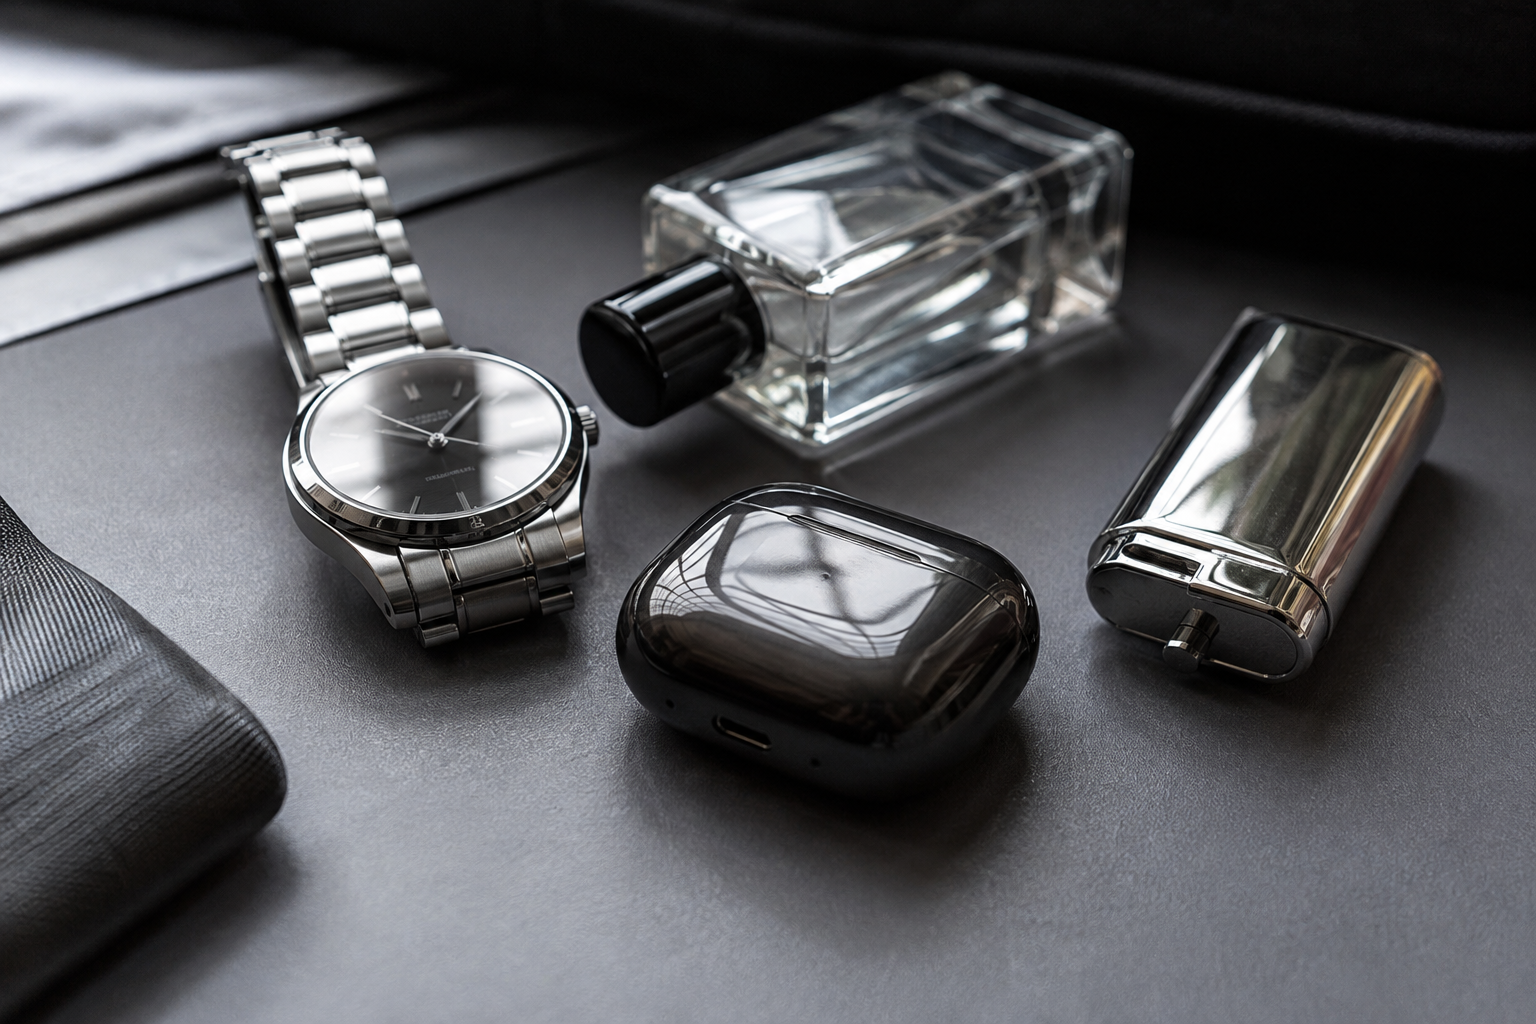
Some objects seem easy to photograph until you point a smartphone at them.
A stainless steel watch suddenly shows your entire room. A glossy product develops a large white reflection across its surface. A glass bottle almost disappears into the background. A dark phone screen reflects your hands, your face and everything behind the camera.
The problem usually isn't your smartphone.
Reflective objects behave differently because you're not only photographing the object itself. You're also photographing everything that the object reflects.
Once you understand that, photographing glass, polished metal, screens and other glossy surfaces becomes much easier.

Start by Looking at the Reflection, Not the Object
Before changing camera settings, look carefully at what you can see in the surface of the object.
If you're photographing polished metal, you may see a window, ceiling light, furniture or even yourself reflected in it.
Move your body slightly to the side.
Then move the object.
Then move the light.
You'll quickly notice that the reflection changes dramatically even though the object hasn't changed at all.
This is the first principle of photographing reflective surfaces: the environment around the object becomes part of the photograph.
Don't Automatically Point the Light Straight at the Product
When an object looks too dark, the natural reaction is to point a brighter light directly at it.
With a glossy object, that can create an even bigger problem.
Instead of revealing detail, the light may appear as one harsh white hotspot across the surface.
Try moving the light farther to one side or bouncing it from a nearby white wall or piece of white card.
A larger, softer light source usually produces a broader and more controlled reflection than a tiny, intense source.

Move the Smartphone Before You Move Everything Else
Sometimes the easiest solution is simply changing your camera angle.
Imagine photographing a dark glossy screen directly from the front. Your phone and your body may appear clearly in the reflection.
Move slightly higher, lower or to one side and that reflection can disappear.
You don't always need a dramatic angle change. Even a small adjustment can redirect an unwanted reflection away from the camera.
Before rebuilding your entire setup, spend a minute moving around the object while watching the screen.
Use a Matte Background
Reflective subjects already contain a lot of visual information, so a simple background usually works best.
Matte paper, fabric, timber or another non-reflective surface can help separate the subject from its surroundings.
This is particularly useful when photographing:
- Watches
- Jewellery
- Metal accessories
- Glossy electronics
- Glassware
- Phone accessories
- Small tools
Avoid placing a highly reflective product on an equally reflective surface unless the reflection itself is part of the composition.

Glass Needs Edges
Clear glass creates a different problem.
Instead of reflecting too much, parts of it can almost disappear.
That's because we often recognise transparent objects by their edges and by the way they distort or reflect the environment around them.
Try placing clear glass against a darker background and watch what happens to the outline.
Then try a lighter background.
Depending on the shape of the object, one will usually define the edges much more clearly.
You can also position dark or white cards just outside the camera frame. Their reflections can create subtle lines along the glass and help reveal its shape.

Be Careful When Photographing Screens
Phones, tablets, monitors and other screens can be particularly frustrating because they combine a dark reflective surface with their own light source.
If the screen is switched off, concentrate on eliminating reflections.
If the screen is switched on, you also need to balance the brightness of the display with the surrounding environment.
A very bright screen in a dark room may appear almost white in the photograph. A dim screen beneath strong lighting can become difficult to see.
Try lowering the screen brightness and adjusting the surrounding light until both the device and the display remain visible.
Also check the screen carefully before shooting. Dust and fingerprints become surprisingly obvious in close-up photographs.
Use Exposure to Protect Bright Highlights
Reflective surfaces often contain very bright areas beside much darker ones.
Your smartphone may try to brighten the whole scene, causing the brightest reflection to lose detail.
Tap the object on your camera screen and, if necessary, lower the exposure slightly.
It's often easier to brighten a slightly dark image later than to recover a large reflection that has become completely white.
Keep an especially close eye on chrome, stainless steel and glossy black surfaces.
A CPL Filter Can Help — But It Isn't Magic
A circular polarising filter can reduce certain types of reflected light and can be useful when photographing glass, water and some glossy surfaces.
It doesn't remove every reflection from every material.
Its effect depends on the surface, the direction of the light and your camera angle.
If reflections are a regular problem in your photography, experimenting with a CPL can be worthwhile. ROODTUO's Phone Lens & Filter collection includes mobile photography options for experimenting with different optical effects.
The important thing is to treat a CPL as another way to control reflections—not as a substitute for positioning your subject and lighting properly.
Use Portable Lighting to Control Where the Reflection Appears
Window light is often enough for reflective-object photography, but it isn't always available in the right position.
A portable LED light gives you more freedom to experiment.
Instead of leaving the light in one position, slowly move it around the object while watching the smartphone screen.
Notice how the reflection travels across the surface.
On curved metal, moving a light only a short distance can completely change the shape of the highlight.
For more controlled tabletop setups, an adjustable light such as the ROODTUO W200RGB RGB Fill Light gives you a portable light source that can be repositioned around the subject. Its standard 1/4-inch mounting connection also makes it easier to place independently from the phone.

Black Products Need Separation Too
A glossy black object against a black background can look sophisticated, but it can also lose its shape completely.
The solution isn't necessarily making the whole scene brighter.
Try creating a narrow reflection along one edge of the object.
That small highlight can separate the product from the background while keeping the overall image dark.
This technique works particularly well with black electronics, headphones, camera accessories and other dark products.
White Products Have the Opposite Problem
A white glossy object against a bright background can lose its edges for the opposite reason.
Instead of adding more light, you may need something darker beside it.
A piece of black card positioned outside the frame can create a subtle darker reflection along an edge.
This helps define the object's shape without requiring heavy editing later.
You're essentially using reflections deliberately rather than trying to eliminate all of them.
Sometimes the Reflection Should Stay
Not every reflection is a mistake.
A controlled highlight across a watch can reveal its curved surface. A subtle reflection on glass can communicate transparency. A narrow streak of light across polished metal can make its finish more obvious.
The goal isn't to create a completely reflection-free object.
The goal is to decide which reflections help describe the object and which ones distract from it.

Try This Simple Setup at Home
You don't need a photography studio to practise.
- Choose a small reflective object such as a watch, glass, metal tool or glossy electronic device.
- Place it on a simple matte surface near a window.
- Turn off unnecessary ceiling lights.
- Clean the object carefully.
- Move your smartphone until your own reflection disappears.
- Rotate the object slightly and watch how the reflections change.
- Place a white piece of card beside it and compare the result.
- Try a black piece of card and compare again.
- If you have a portable light, move it slowly around the object rather than pointing it directly from the front.
- Take several photographs and compare the reflections rather than only comparing brightness.
You'll probably learn more from those ten minutes of experimentation than from repeatedly changing camera settings.
Common Mistakes When Photographing Reflective Objects
- Using direct flash: It can create a harsh central hotspot and reveal every fingerprint on the surface.
- Ignoring the room: Reflective products may show objects behind the camera that you didn't notice while composing.
- Standing directly in front: This often puts you and the smartphone inside the reflection.
- Using too many lights: More lights can mean more reflections to control.
- Trying to remove every highlight: Without any reflection, polished surfaces can lose their shape and material character.
- Forgetting to clean the product: Dust, fingerprints and water marks become especially visible on glossy surfaces.
- Overexposing the image: Bright reflections can quickly lose all texture and detail.
Final Thoughts
Photographing reflective objects becomes much easier once you stop thinking only about the object.
Pay attention to what's around it.
A window becomes a reflection. A white wall becomes a highlight. Your shirt can appear in polished metal. A small change in camera angle can remove something that seemed impossible to avoid a moment earlier.
Start with one light source, a simple background and a clean object. Move slowly and watch how the surface changes on your smartphone screen.
Eventually, reflections stop feeling like a problem.
They become another part of the photograph that you can control.
Share:
How to Shoot a Time-Lapse With Your Smartphone