News

Universal Phone Clamps Explained: What Actually Matters?
Read moreabout Universal Phone Clamps Explained: What Actually Matters?
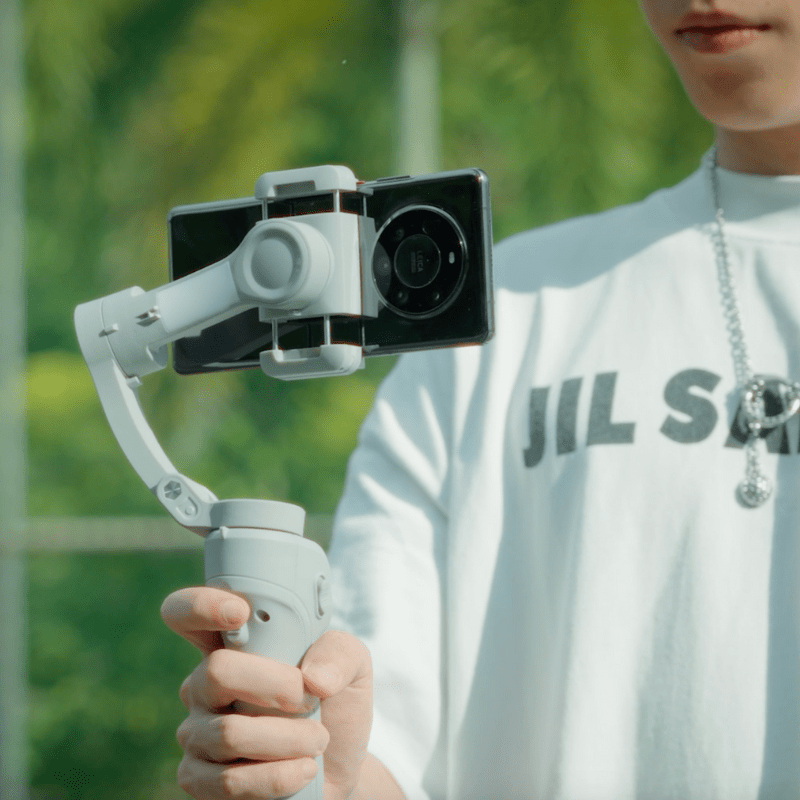
How to Record Better Walking Videos With Your Smartphone
Read moreabout How to Record Better Walking Videos With Your Smartphone
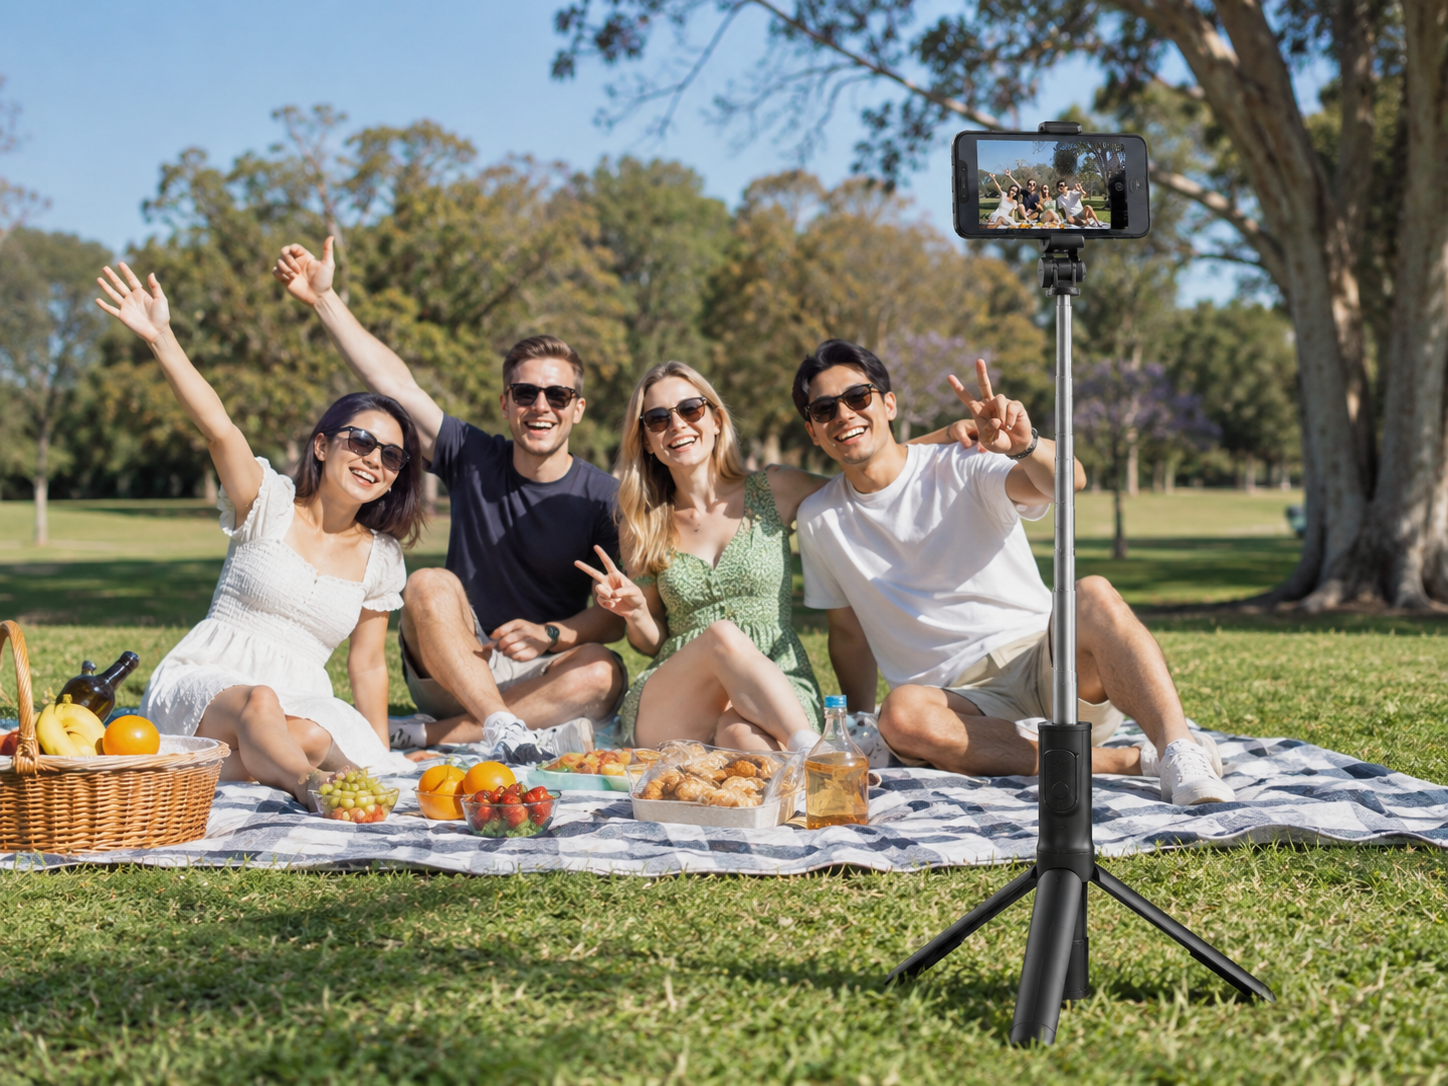
How to Take Better Group Photos Without Asking a Stranger
Read moreabout How to Take Better Group Photos Without Asking a Stranger
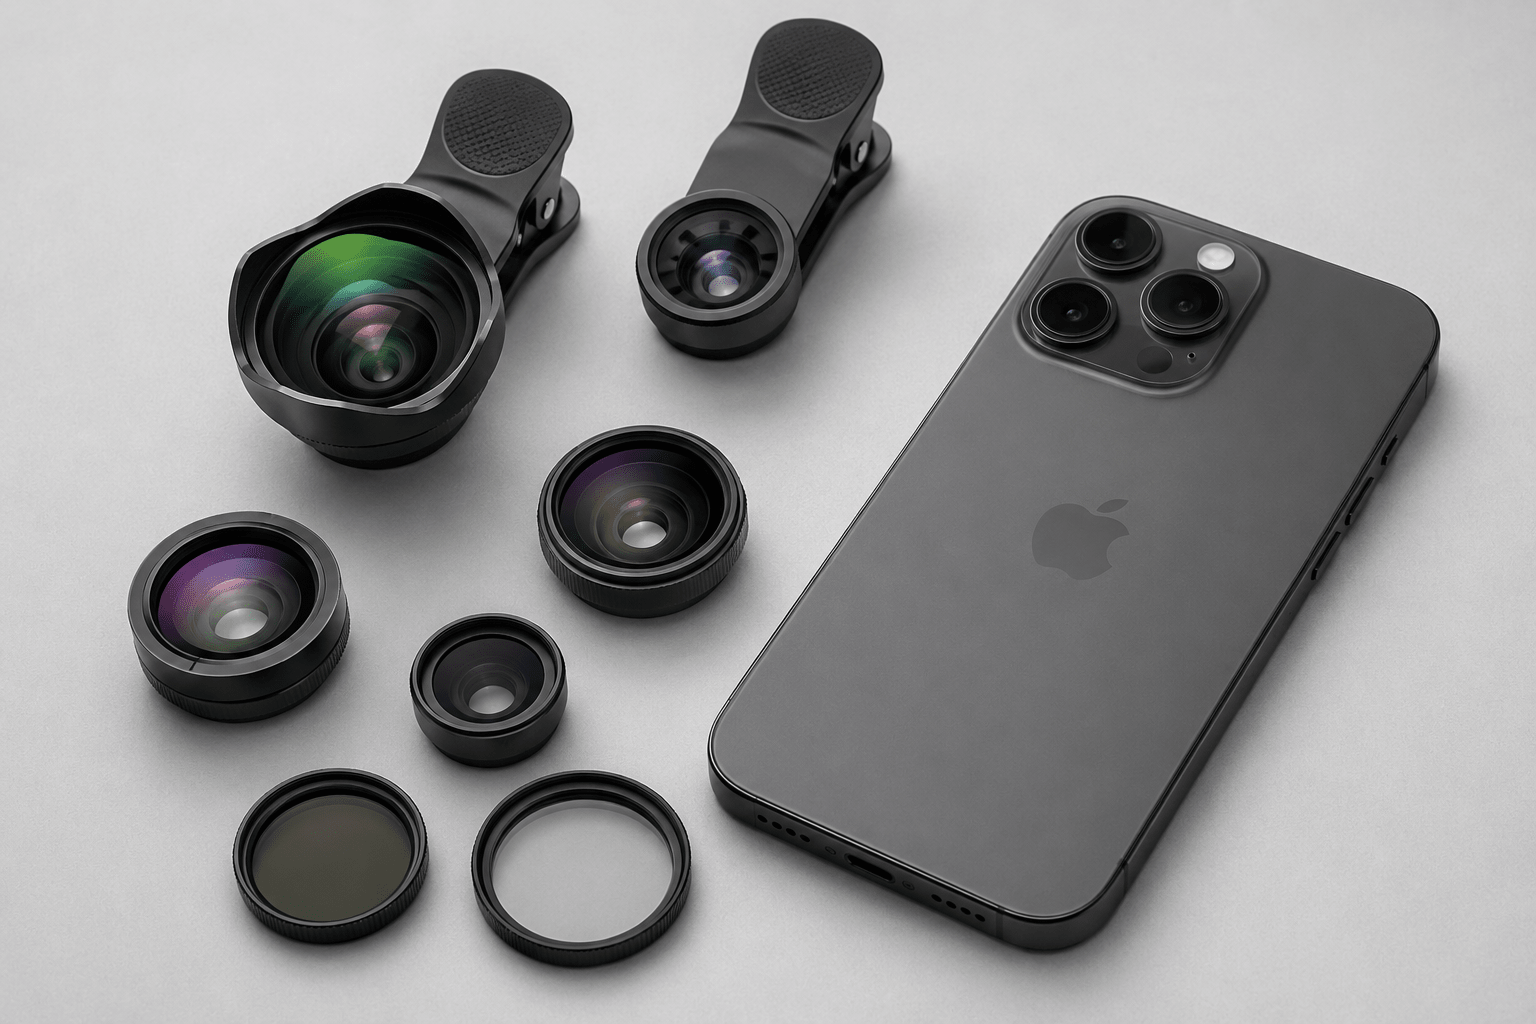
Wide Angle, Macro or CPL? Choosing the Right Phone Lens for Every Situation
Read moreabout Wide Angle, Macro or CPL? Choosing the Right Phone Lens for Every Situation
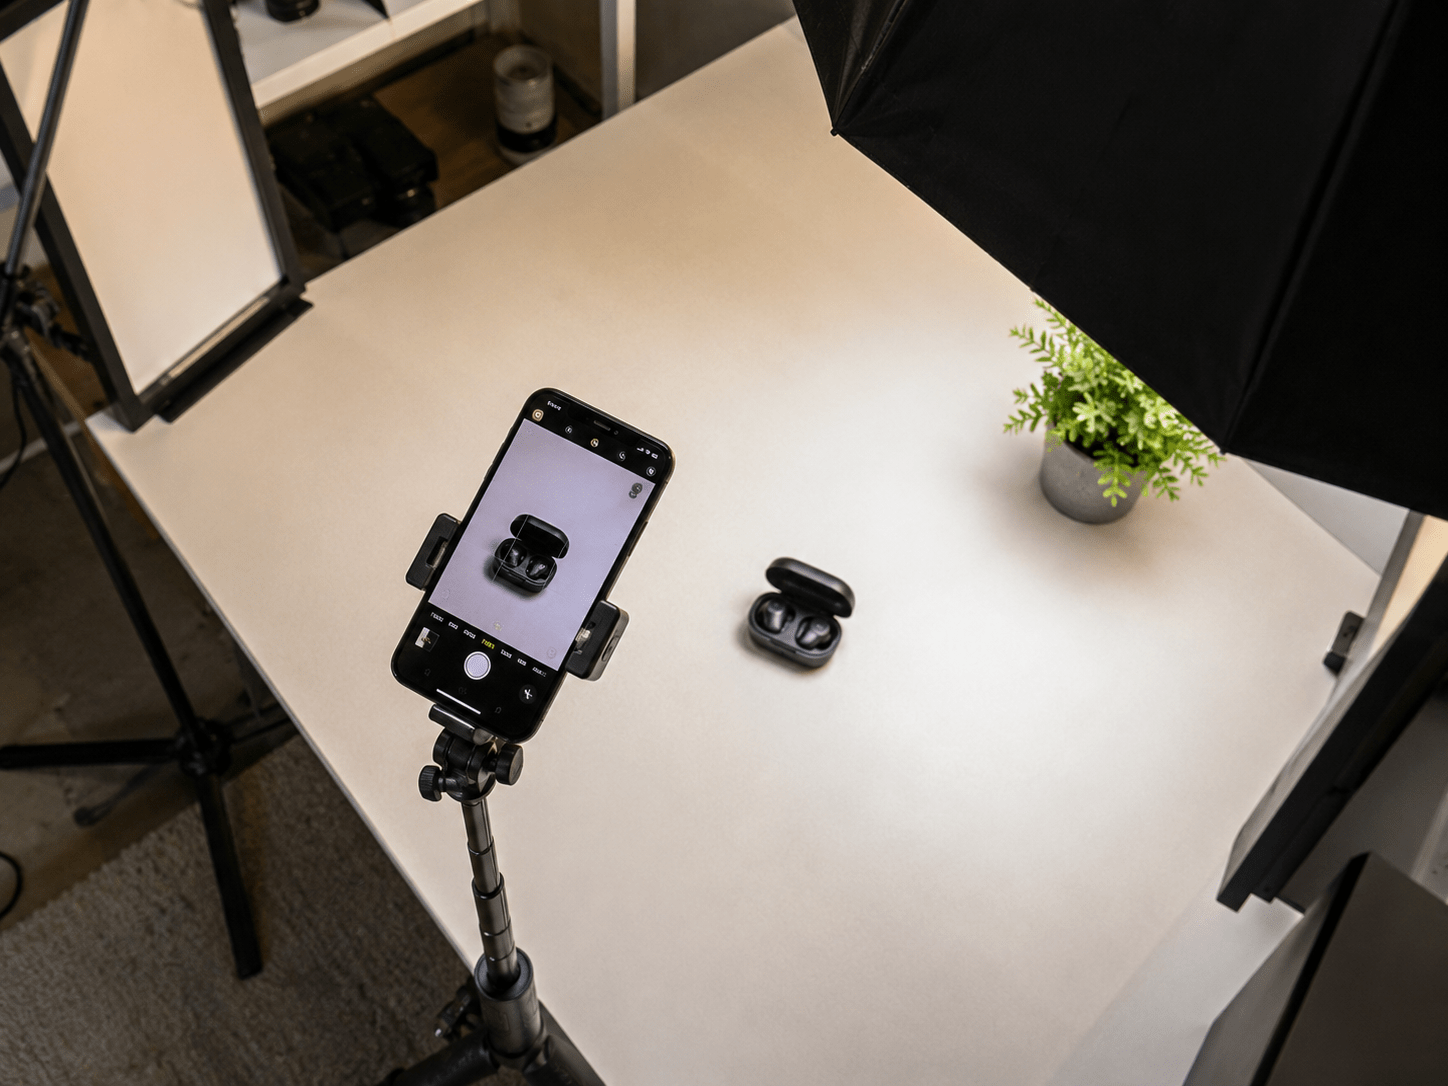
How to Film Better Product Videos Using Only Your Smartphone
Read moreabout How to Film Better Product Videos Using Only Your Smartphone
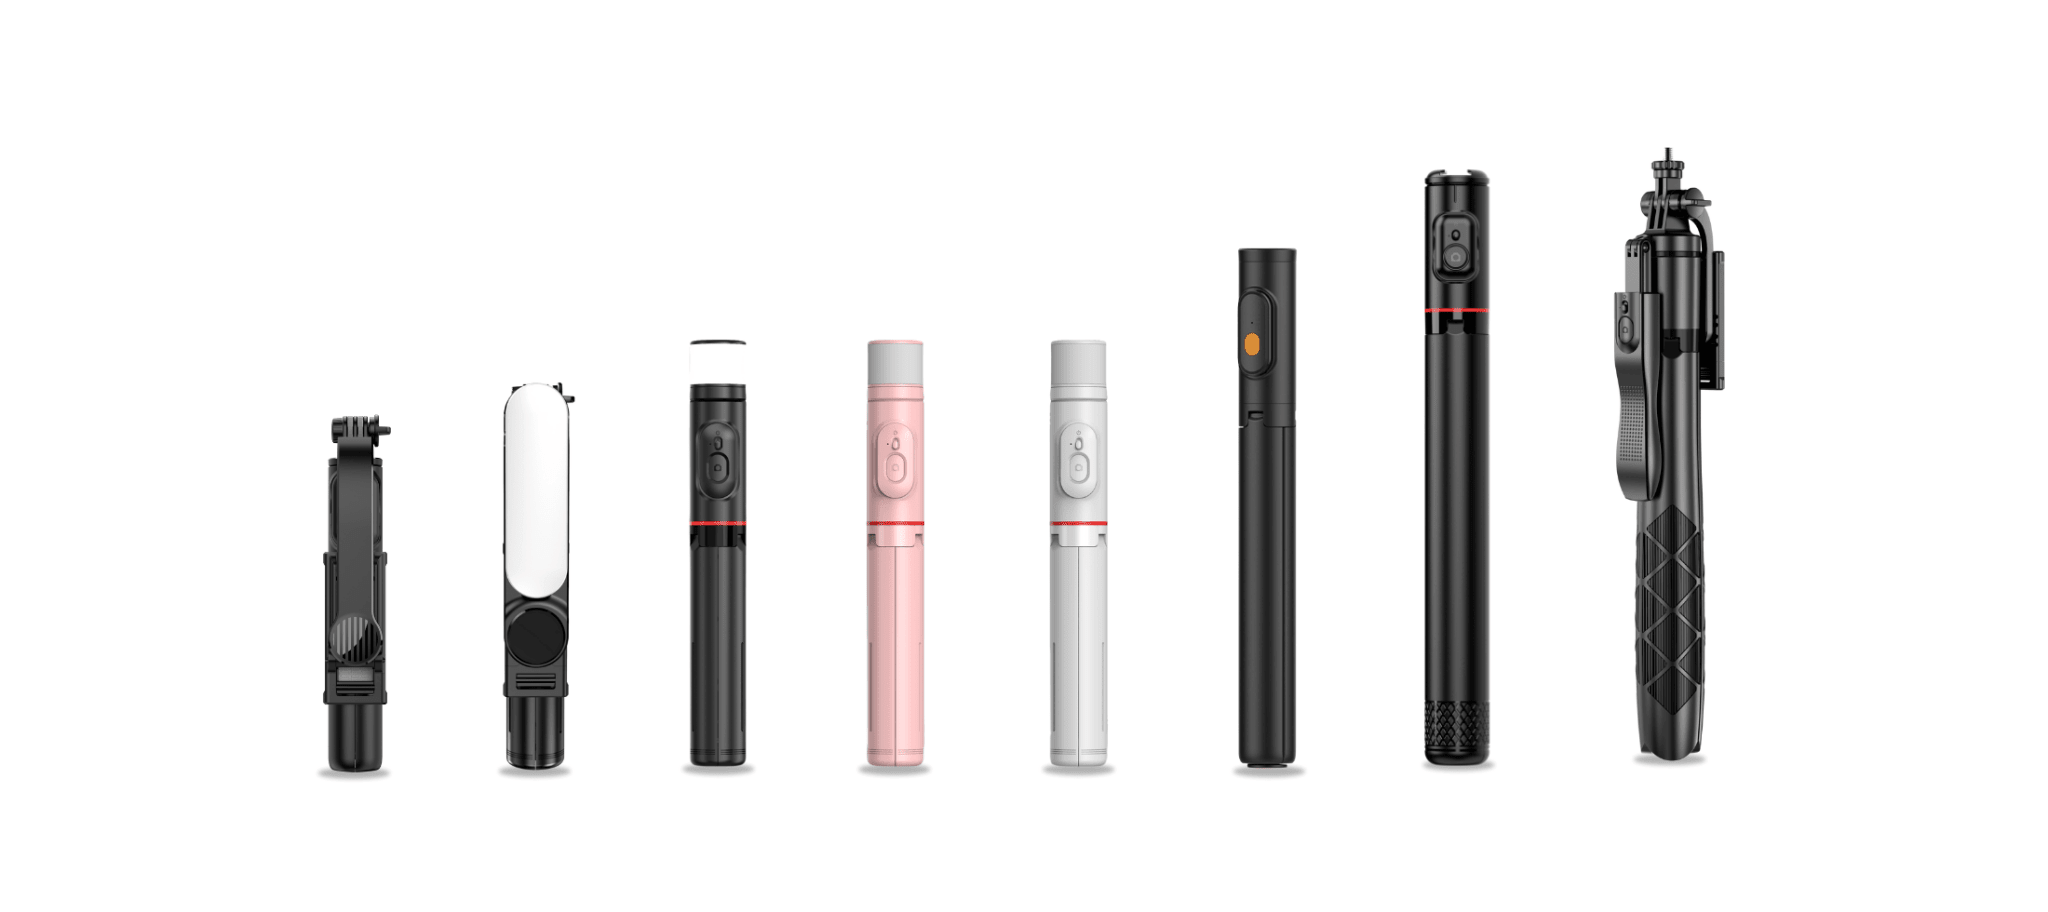
How to Choose Your First Smartphone Tripod (Without Overspending)
Read moreabout How to Choose Your First Smartphone Tripod (Without Overspending)
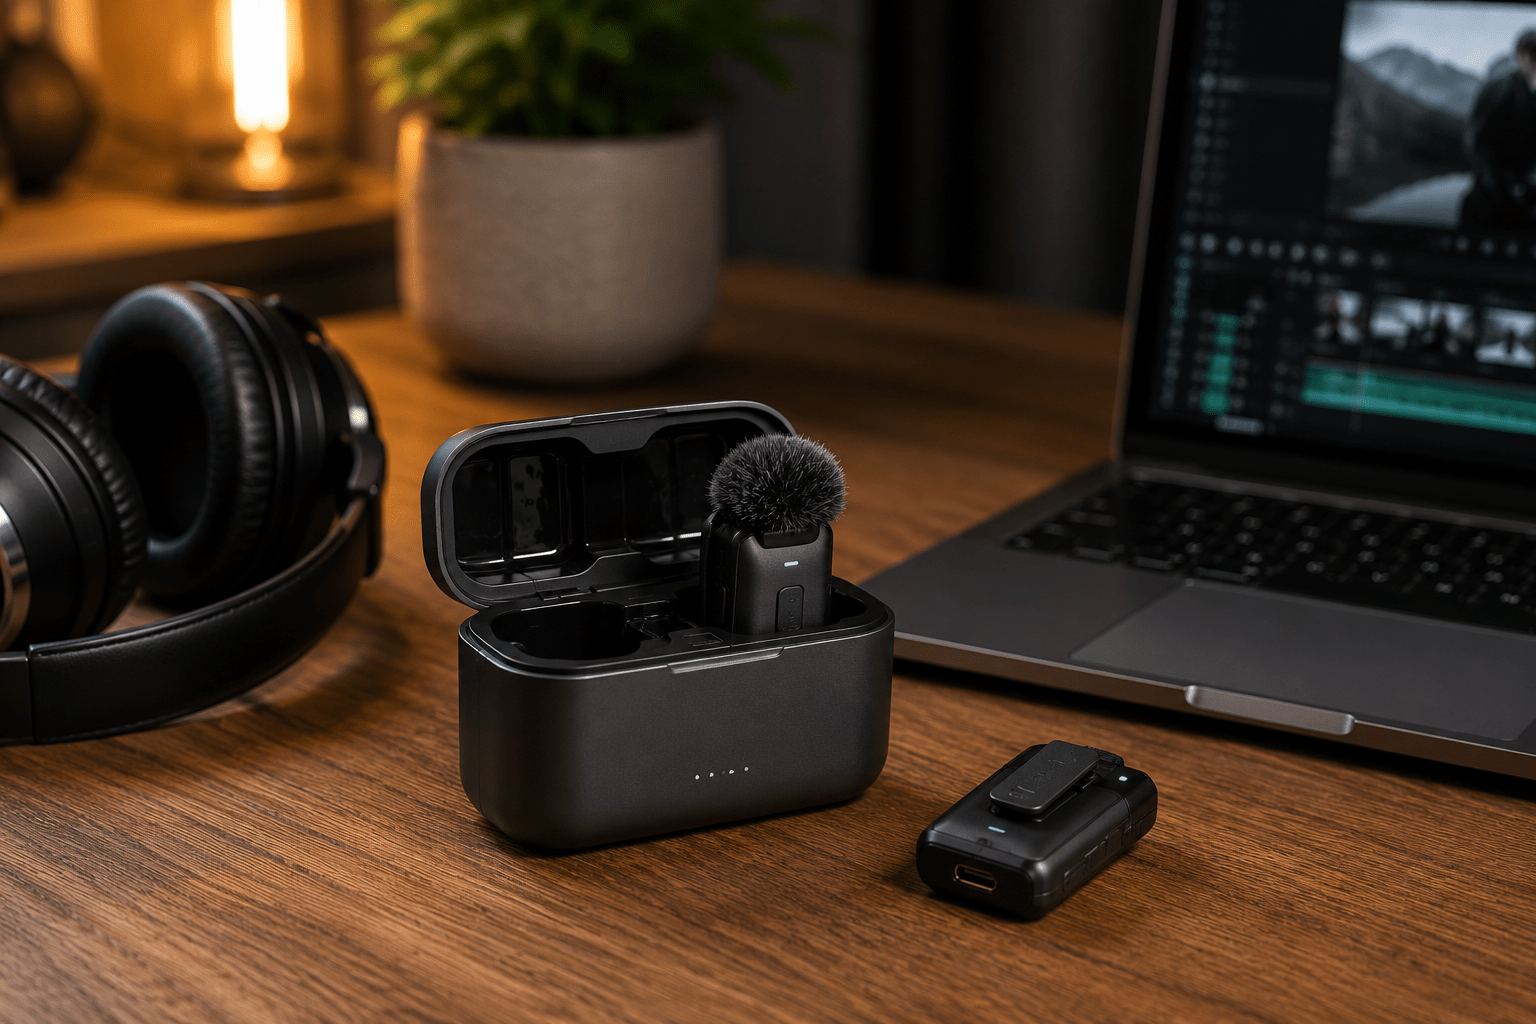
Why Every Creator Eventually Wants a Better Audio Setup
Read moreabout Why Every Creator Eventually Wants a Better Audio Setup
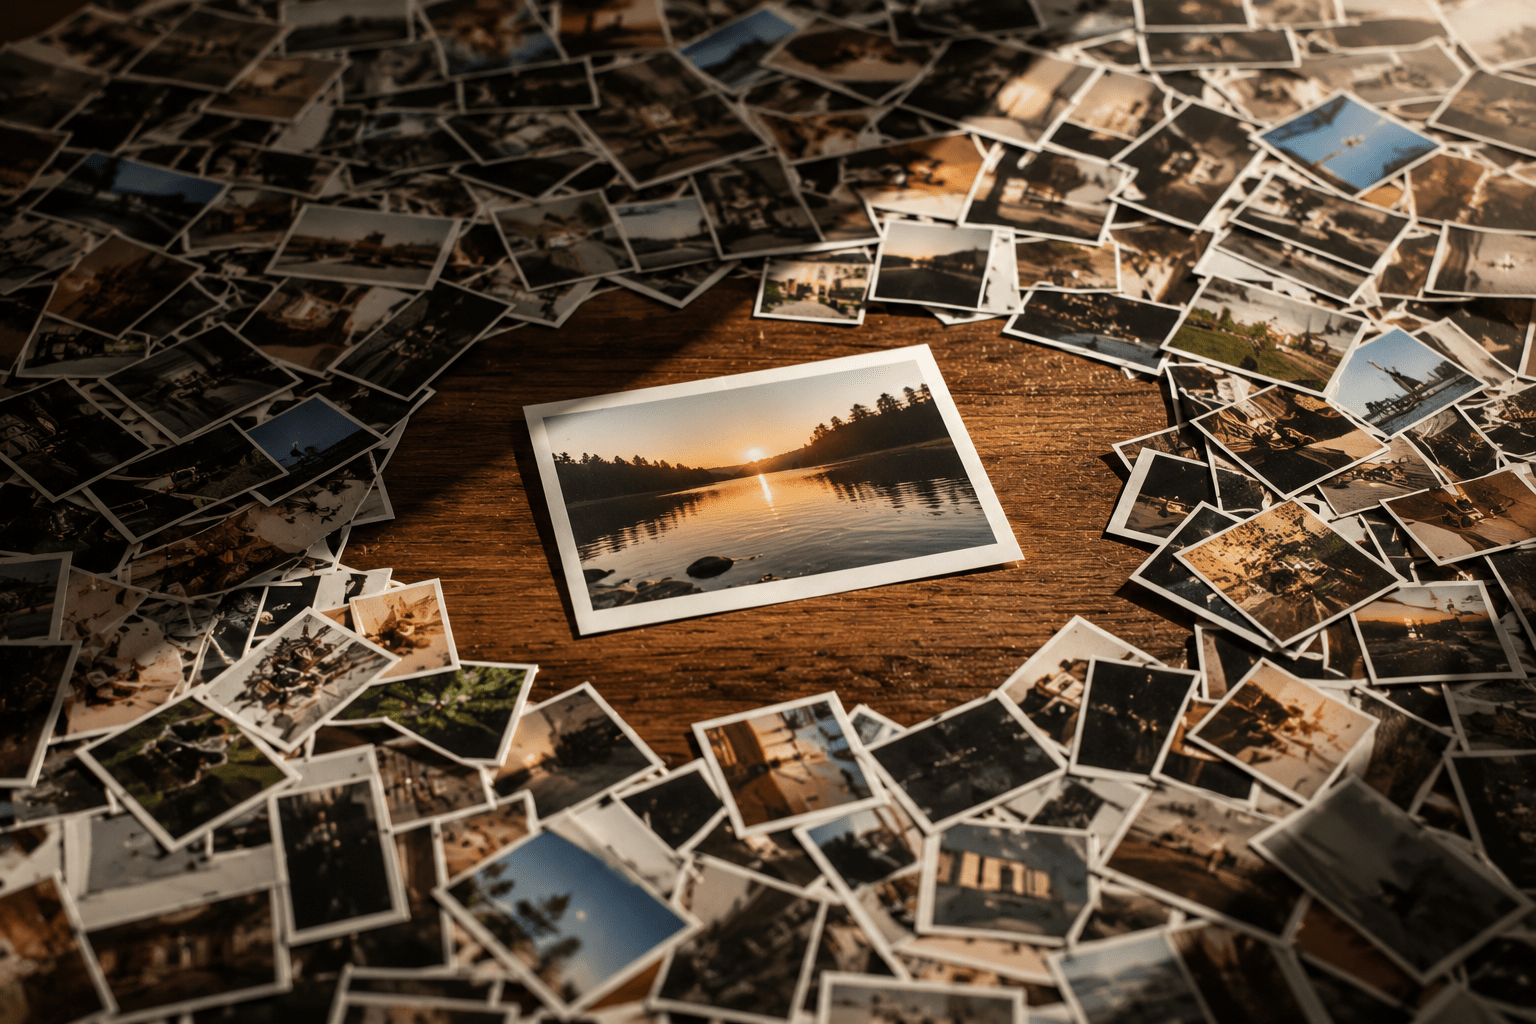
Why We Take More Photos Than Ever — But Look At Them Less
Read moreabout Why We Take More Photos Than Ever — But Look At Them Less

The Photos We Almost Didn't Take