News
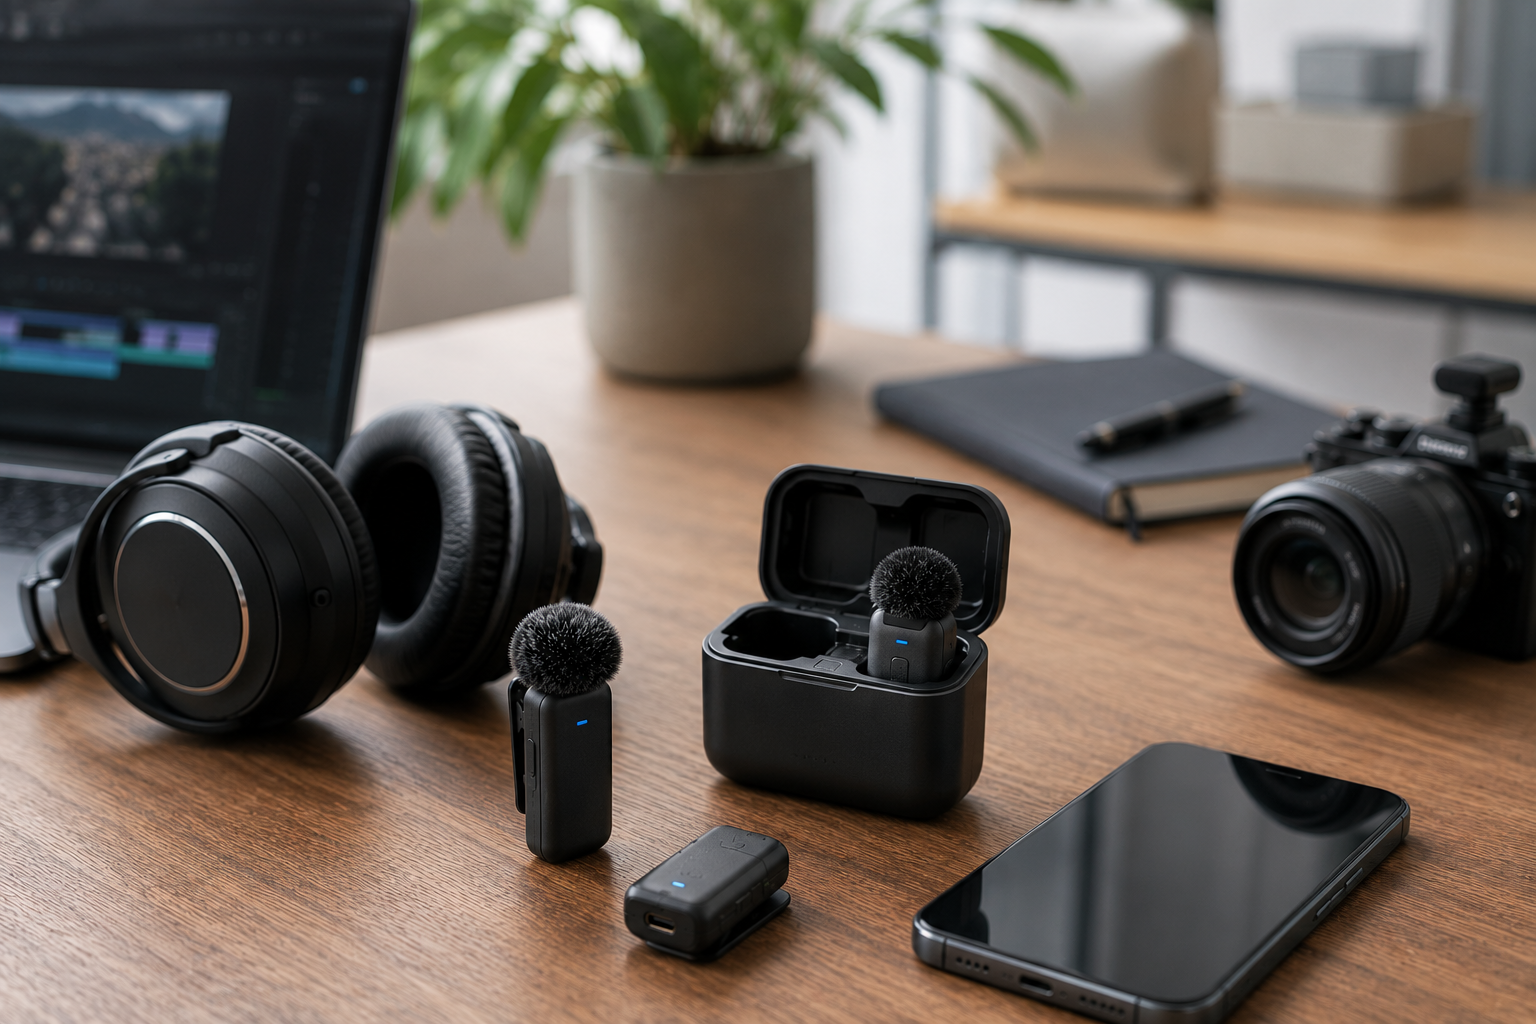
7 Audio Mistakes New Creators Make (And How to Avoid Them)
Read moreabout 7 Audio Mistakes New Creators Make (And How to Avoid Them)
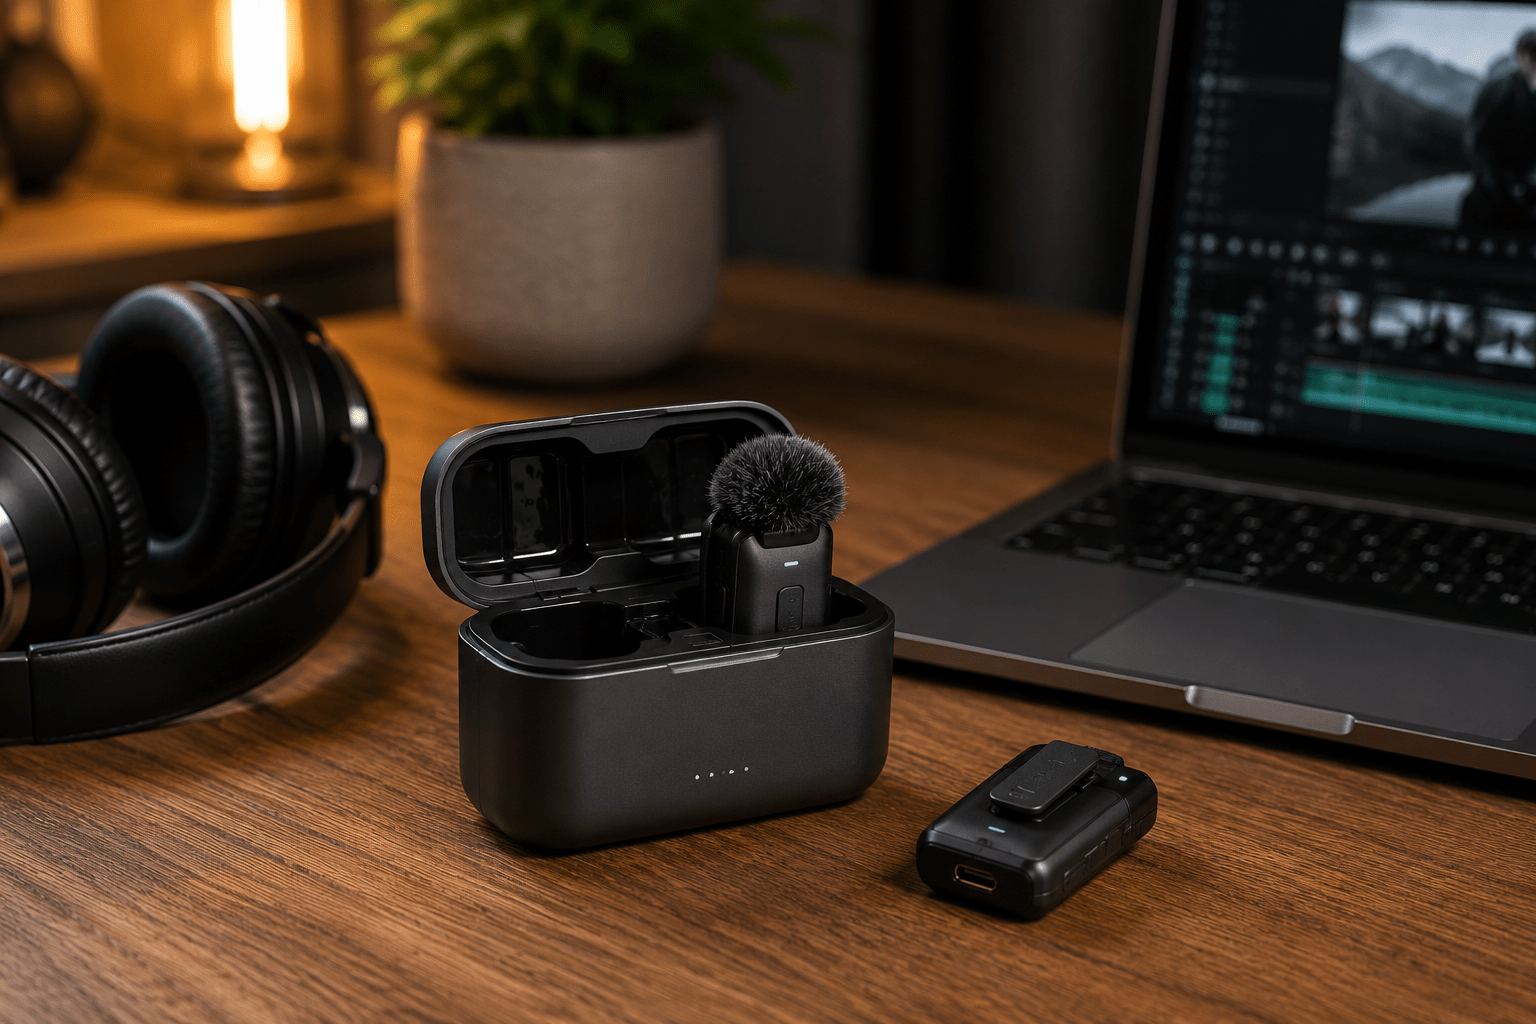
Why Every Creator Eventually Wants a Better Audio Setup
Read moreabout Why Every Creator Eventually Wants a Better Audio Setup
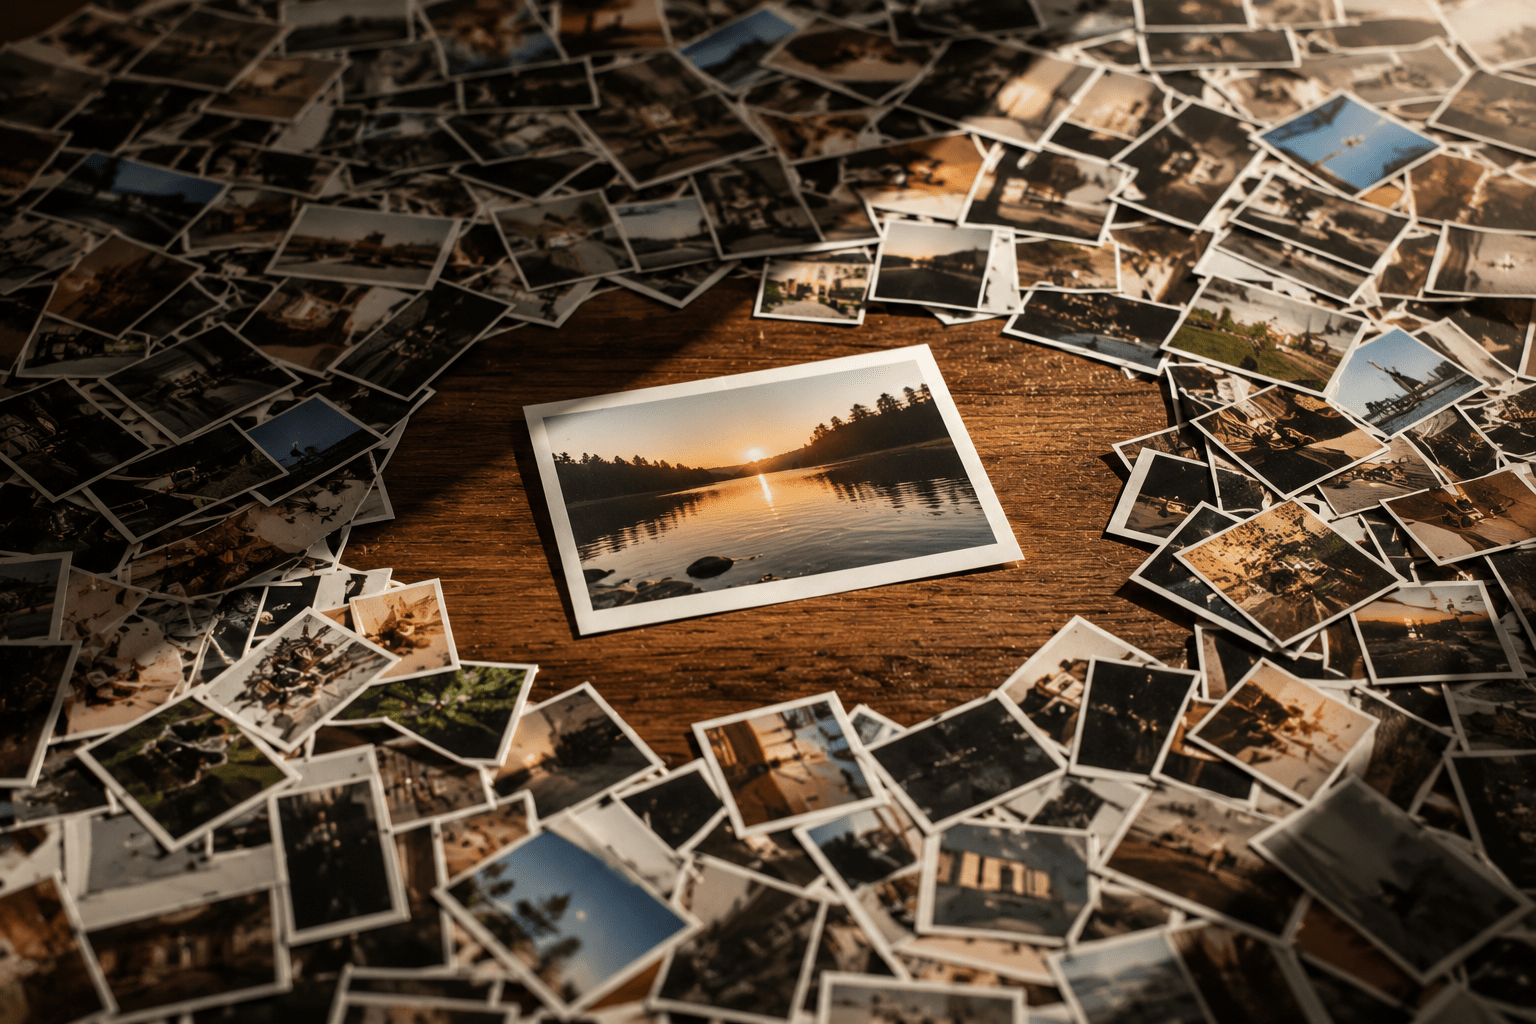
Why We Take More Photos Than Ever — But Look At Them Less
Read moreabout Why We Take More Photos Than Ever — But Look At Them Less

The Photos We Almost Didn't Take
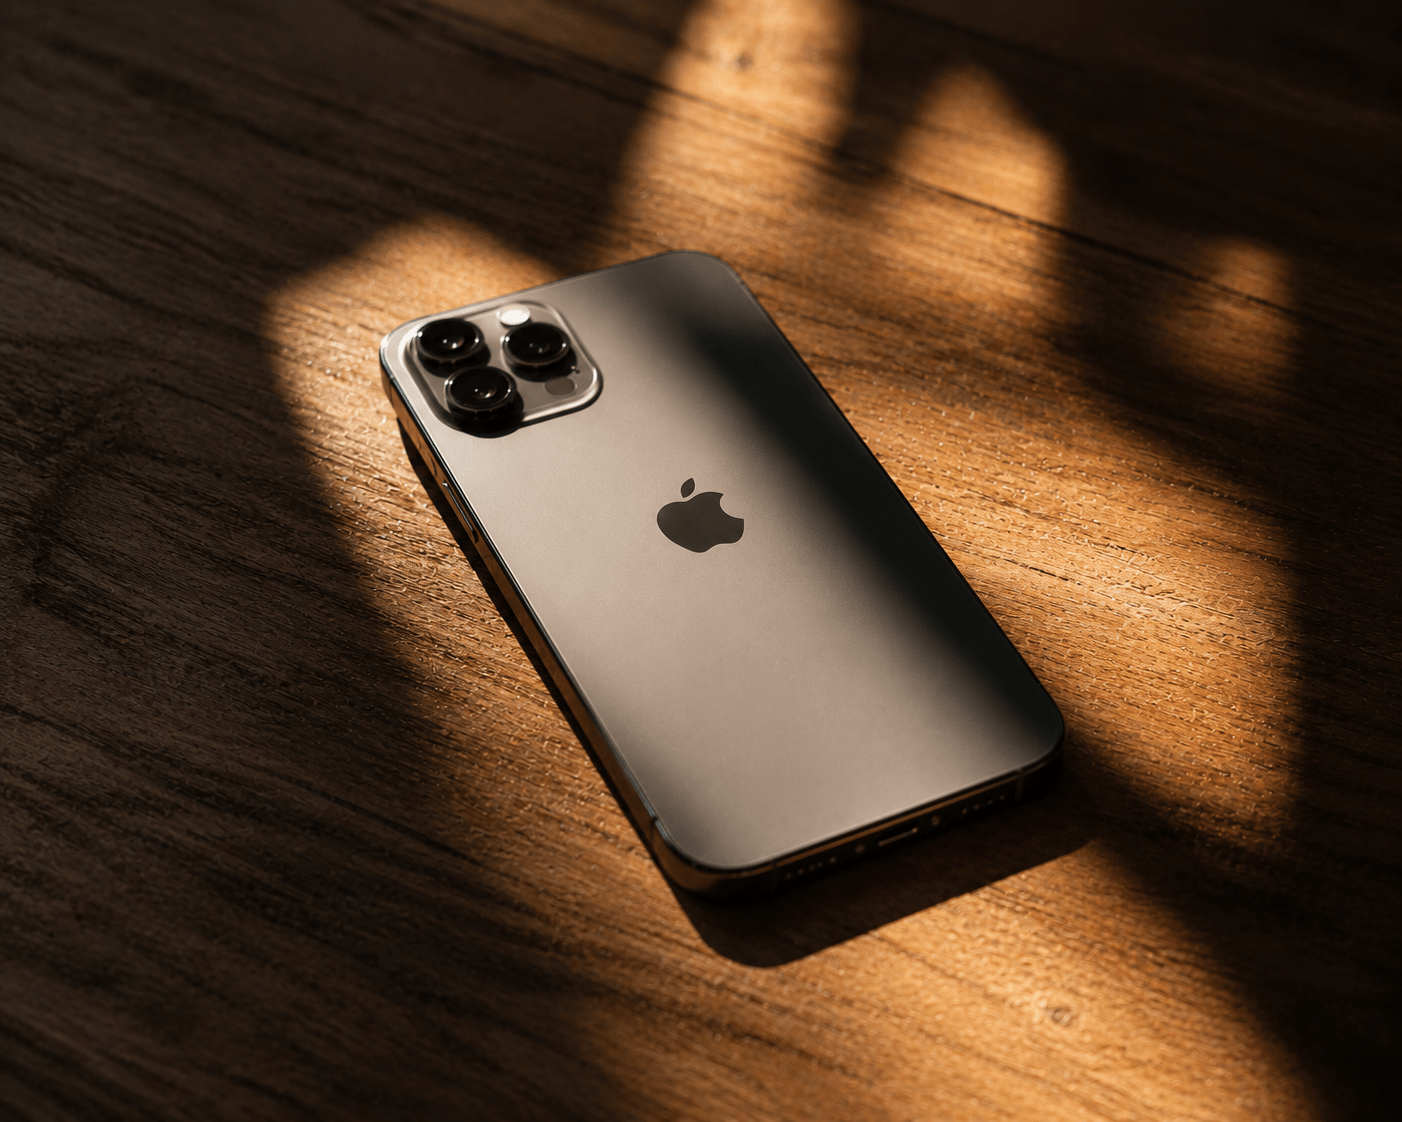
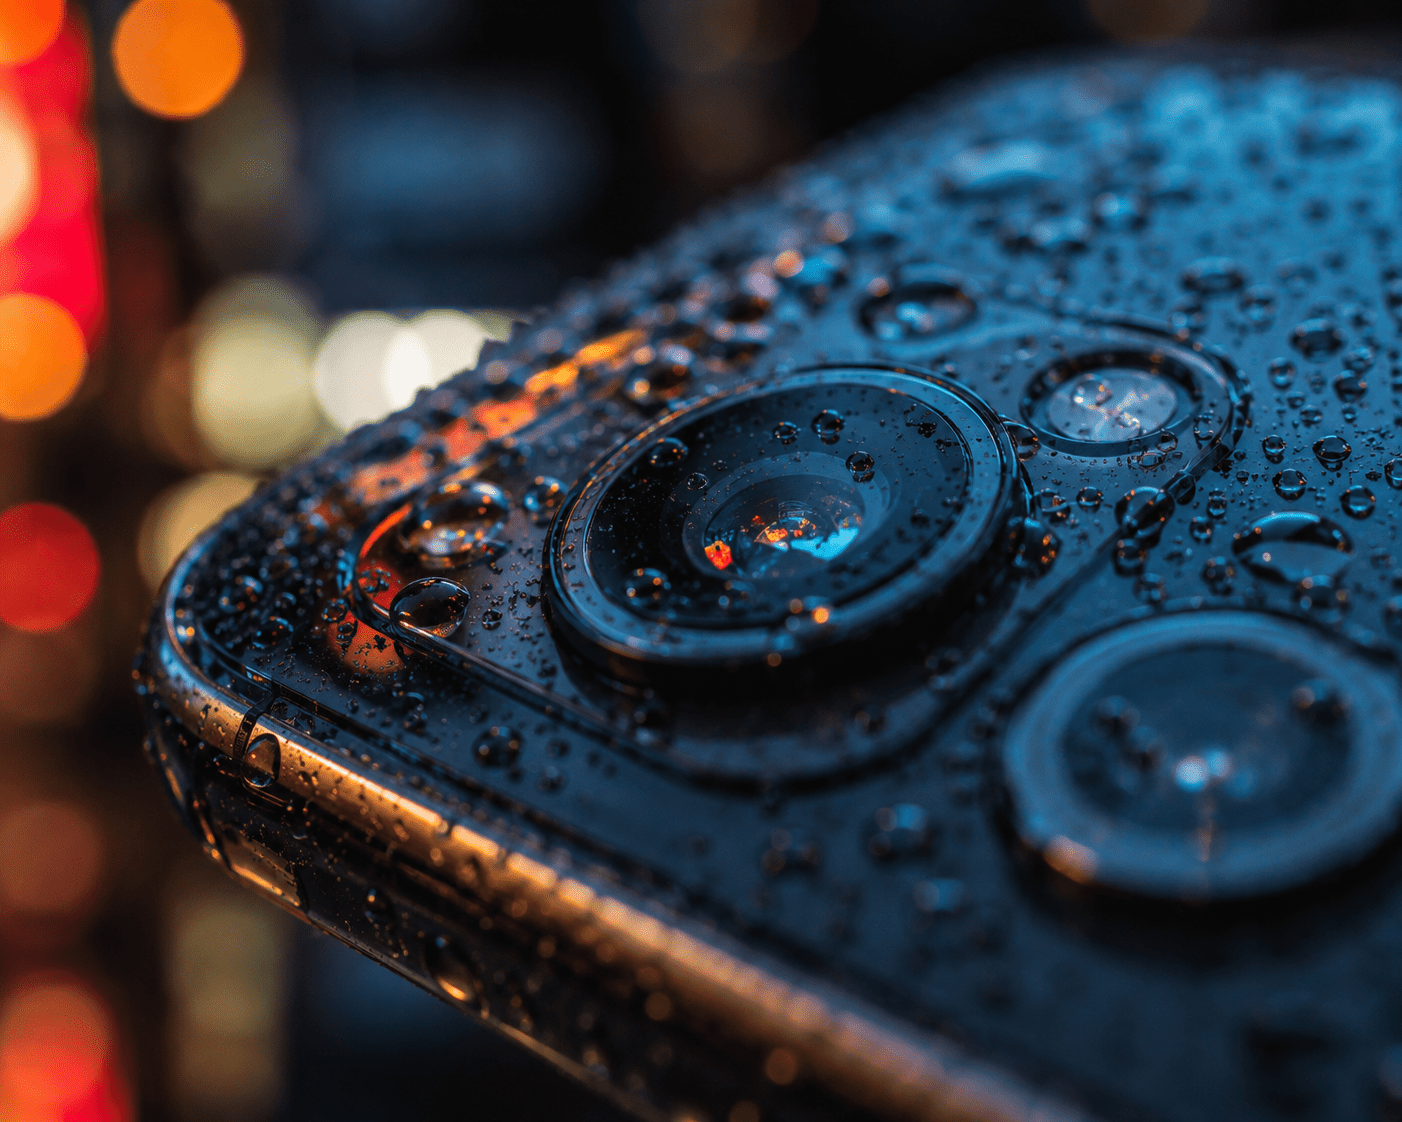
The Most Overlooked Part of Smartphone Photography Isn't the Camera
Read moreabout The Most Overlooked Part of Smartphone Photography Isn't the Camera
Why Nobody Cares What Camera You Use

The Best Smartphone Camera Is the One You Actually Carry
Read moreabout The Best Smartphone Camera Is the One You Actually Carry

Why Smartphone Photos Often Look Worse Than What You Saw in Real Life
Read moreabout Why Smartphone Photos Often Look Worse Than What You Saw in Real Life

Why Most Travel Vlogs Feel Boring And How to Make Yours Better
Read moreabout Why Most Travel Vlogs Feel Boring And How to Make Yours Better