
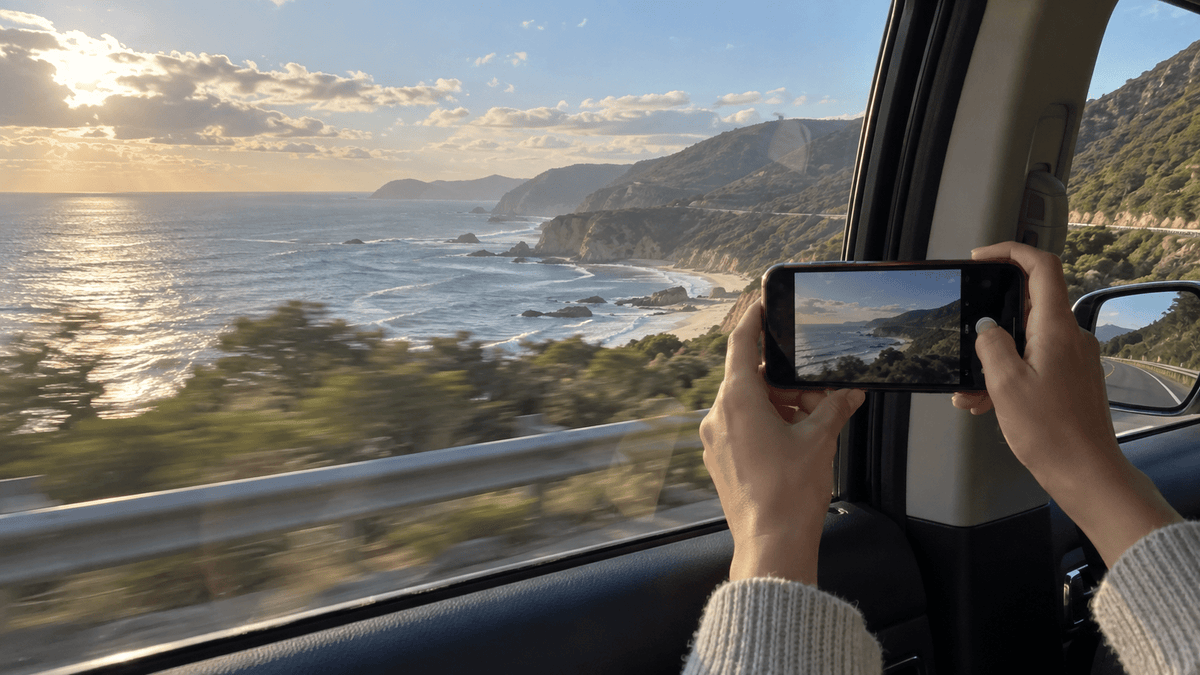
You're sitting beside a train window and the landscape outside looks incredible.
You take out your phone, press record and watch it back a few minutes later.
Instead of the view you remember, you've got reflections from inside the carriage, a dirty window, blurry trees and a camera that keeps changing focus.
Filming through glass from a moving car, train or bus is harder than it looks.
But it can also produce some of the most memorable travel footage you bring home. The movement already exists. The scenery is constantly changing. You don't need to create a complicated camera move—you just need to work with what's passing outside.

Start by Cleaning the Window
This sounds almost too obvious to mention, but it can make a bigger difference than changing any camera setting.
Fingerprints, dust and dried water marks become especially visible when sunlight hits the glass.
If you're in your own parked vehicle, clean both sides of the window before leaving.
On a train or bus, you obviously can't do much about the outside of the glass, but choosing the cleanest available section can still help.
Also check your smartphone lens. Shooting through one dirty surface is difficult enough without adding another one.
Get the Smartphone Closer to the Glass
One of the biggest problems when filming through a window is reflection from inside the vehicle.
Seats, lights, clothing and even your own face can appear across the scenery outside.
Moving the smartphone closer to the window can reduce the amount of interior reflection visible to the camera.
You don't necessarily need to press the lens against the glass. In a moving vehicle, direct contact can transfer vibration into the phone and may create unwanted movement.
Instead, hold it close and experiment with the angle until the reflection becomes less noticeable.
Watch What You're Wearing
Here's something that's easy to miss.
If you're wearing a bright white shirt while filming through a dark train window, there's a good chance you'll see part of that shirt reflected in your footage.
Dark clothing usually creates less obvious reflections than bright clothing when shooting through glass.
The same applies to bright objects inside the vehicle.
Sometimes the mysterious white shape floating across your landscape isn't a camera problem at all. It's the shopping bag sitting beside you.
Don't Follow Every Tree
When the vehicle is moving, nearby objects pass the window extremely quickly.
Trees, poles, fences and road signs can become a blur.
Don't try to follow them with the smartphone.
Instead, look farther into the distance.
Mountains, coastlines, open fields and distant buildings move much more slowly across the frame. They're usually easier to film and more comfortable to watch later.
Let the foreground move naturally through the shot.
That difference between fast foreground movement and slower distant scenery is actually one of the things that makes transport footage feel like travel.

Keep the Phone Pointed Mostly Forward or Sideways
The direction you point the phone changes the feeling of speed.
Point directly sideways and nearby scenery crosses the frame quickly.
Angle the camera slightly forward and the movement often feels more gradual because you're looking towards where the vehicle is going.
Neither is better.
A sideways view works well when you want to emphasise speed. A forward diagonal view is often easier for landscapes and longer clips.
Try both during the same journey.
Don't Zoom Into Fast-Moving Scenery
Digital zoom makes every small movement more obvious.
That's already difficult when you're sitting inside a moving vehicle.
If the scenery is far away, the temptation is to zoom in heavily on a mountain, building or animal outside. But vibration, window movement and atmospheric haze can quickly make the result disappointing.
Start with the phone's main camera.
Let the landscape remain part of a wider composition and crop slightly later if necessary.
Lock Focus When the Phone Keeps Hunting
A window introduces several possible focus points.
Your smartphone might notice dirt on the glass, a reflection from inside the vehicle or the landscape outside.
If autofocus keeps jumping between them, the footage can pulse in and out of focus.
When your camera app allows it, focus on the distant scenery and lock focus before recording a longer shot.
This is particularly useful when the distance between you and the landscape isn't changing dramatically.
Be Careful With Exposure
The inside of a car or train is usually darker than the world outside.
If your phone exposes for the dark interior or a reflection in the glass, the landscape outside may become too bright.
Tap on the scenery outside and watch the sky.
If clouds or bright areas are losing all their detail, lower the exposure slightly.
It's usually more important to preserve the view outside than to make a reflected seat inside the carriage visible.
Try a CPL Filter for Certain Reflections
A circular polarising filter can reduce some reflections from glass and can sometimes improve the view through a vehicle window.
The effect depends heavily on the angle between the glass, camera and light, so it isn't a magic reflection remover.
Rotate the filter while looking at the smartphone screen and watch what happens.
At one angle, a reflection may become noticeably weaker. Rotate farther and it may return.
If you want to experiment with this technique, you can browse the ROODTUO Phone Lens & Filter collection.
Reflections Aren't Always Bad
After spending half the article trying to remove reflections, here's the opposite advice: sometimes keep them.
A faint reflection of someone sitting beside a train window can add context.
At night, interior lights mixed with city lights outside can create layers that feel much more like the actual experience of travelling.
The difference is whether the reflection looks intentional.
If a bright ceiling light cuts awkwardly through the middle of a landscape, it's probably distracting.
If a subtle reflection helps communicate that the viewer is inside a train looking out, it can become part of the story.
Look for Moments When the Foreground Opens Up
You don't control the location when you're sitting on a train.
Sometimes there are trees directly beside the track for several minutes. Then suddenly the view opens into fields, coastline or a valley.
Keep the smartphone ready rather than recording continuously.
Watch ahead when possible and start recording just before the view opens.
You'll come home with shorter clips that contain something useful instead of 25 minutes of trees flashing past the window.
Use Bridges, Tunnels and Shadows as Natural Transitions
Moving transport gives you transitions for free.
A train enters a tunnel and the frame becomes dark.
A bus passes behind a large building.
A roadside tree briefly fills the entire frame.
A bridge structure moves across the window.
These moments can become useful edit points.
For example, end one clip as the image becomes dark entering a tunnel and begin another clip coming out somewhere else.
You don't need an elaborate digital transition when the journey already provides one.
Night Journeys Need a Different Approach
At night, reflections become much stronger because the glass is dark and the interior is illuminated.
If possible, move away from bright interior lights or use your body to block some of the light reaching the window.
Keep the phone close to the glass and avoid unnecessary zoom.
Don't expect every night shot to be perfectly clean.
Passing lights, reflections and slight motion blur can actually become part of the atmosphere.
A late-night train through a city doesn't need to look like a daylight landscape video.
Capture Some Sound Too
The visual isn't the whole experience.
The sound of train wheels, an indicator clicking inside a car, rain hitting the window or a station announcement can instantly bring a travel clip back to life.
Even if you eventually use music, record a few clips with their original sound.
You may only use two seconds of it in the final edit, but that two seconds can make the sequence feel much more like a real journey.
Don't Record the Entire Journey
This is probably the easiest mistake to make.
You see a nice view, start recording and leave the phone running.
Seven minutes later, you have one enormous clip containing five useful seconds.
Instead, think in short pieces.
Record the landscape.
Stop.
Record a road sign or station platform.
Stop.
Capture a reflection in the window.
Stop.
Film the scenery opening up again.
Those short observations are much easier to work with later.
Include the Journey Inside the Vehicle
If you're making a travel video, don't point the camera outside for the entire sequence.
Some of the details inside the vehicle help establish where you are.
Try recording:
- Your hand resting beside the window
- The edge of a train seat with the landscape moving behind it
- A coffee cup on the tray table
- Rain moving across the glass
- Your reflection briefly appearing at night
- A station arriving outside the window
- Luggage beside your seat
These small shots connect the landscape to the experience of actually travelling through it.

What About Filming From a Car?
The same basic techniques apply, but safety matters much more.
If you're the driver, don't film.
Have a passenger handle the smartphone or wait until the vehicle is safely parked.
Passengers should also avoid leaning outside windows or positioning equipment where it could interfere with the driver, airbags, mirrors or normal operation of the vehicle.
You don't need to hang a phone outside a moving car to make the journey look interesting.
The view through the window is already moving.
A Simple Road-Trip Sequence to Try
Instead of recording one long window clip, try collecting these:
- A short interior shot before leaving
- A forward or diagonal view as the journey begins
- A side-window landscape with foreground movement
- A close detail inside the vehicle
- A tunnel, bridge or passing object to use as a transition
- A wider landscape when the view opens up
- A final clip as you arrive
Seven short clips can tell the story of a journey much better than seven minutes of continuous footage through the same window.
Final Thoughts
Filming through a moving window isn't about eliminating every sign that you're inside a vehicle.
The movement, occasional reflection and changing foreground are part of what makes the footage feel like a journey.
Clean the glass when you can. Keep the phone close to the window. Look farther into the distance, watch your exposure and wait for the landscape to open up.
Then remember to put the phone down occasionally and actually look out of the window.
You don't need to record the whole trip to remember it.
Share:
How to Take Better Car Photos With Your Smartphone